The kitchen is the heart of every home, and in 2026, DIY kitchen upgrades are more popular than ever. With the rise of energy-efficient smart appliances and a growing interest in home improvement, many homeowners are choosing to install their own kitchen appliances. Not only does this save money, but it also allows you to customize your kitchen to suit your needs.
| Appliance | Key Steps | Tools Needed | Safety Tips |
|---|---|---|---|
| Refrigerator | 1. Measure space/entry. 2. Level floor. 3. Connect water line. 4. Plug in & test. | Level, wrench, tubing kit | Allow 1″ ventilation; check doors swing freely. |
| Oven/Range | 1. Shut off gas/power. 2. Position & level. 3. Connect lines. 4. Install anti-tip bracket. 5. Test. | Wrench, screwdriver, tester | Bubble test gas leaks; secure to wall. |
| Dishwasher | 1. Mount brackets. 2. Connect water/drain hoses. 3. Wire to junction box. 4. Level & seal. | Drill, pliers, install kit | Check for leaks; use GFCI outlet. |
| Microwave | 1. Mark template. 2. Drill/mount bracket. 3. Wire & secure. 4. Test vent. | Drill, screwdriver | Ensure 3″ clearance; vent outdoors. |
Why DIY Kitchen Appliance Installation Matters
Installing your own kitchen appliances comes with several benefits that make it worth considering.
Cost Savings
Hiring a professional to install kitchen appliances can cost anywhere from $100 to $500 per appliance. By investing in a few basic tools (typically $50–$200), you can save hundreds of dollars.
Customization
Every kitchen is unique, and DIY installation allows you to tailor the setup to your specific layout. Whether it’s adjusting the height of a refrigerator or ensuring a dishwasher fits snugly under the counter, you have full control over the process.
Self-Sufficiency
There’s a sense of pride and satisfaction that comes with completing a project yourself. Plus, you’ll gain valuable skills that can be applied to future home improvement tasks.
Fun Fact: According to recent studies, kitchen remodels offer an average ROI (return on investment) of 60-80%, making them one of the most valuable home upgrades.
Essential Tools and Materials Needed
Before you begin, gather all the tools and materials you’ll need for the installation. Having everything ready will save you time and prevent unnecessary trips to the hardware store.
Tool/Material Purpose Cost Estimate
Voltage Tester Safety checks $15
Adjustable Wrench Plumbing connections $20
Spirit Level Ensuring alignment $10
Dishwasher install Kit Secure fittings $25
Screwdrivers (variety) General assembly $15–$30
Pipe Cutter Trimming water lines $20
Pre-Installation Preparation Steps
Preparation is key to a smooth and successful installation. Follow these steps to ensure your kitchen is ready for its new appliances.
Shut Off Utilities
Before starting, turn off the power, water, and gas supplies to the kitchen. This is a critical safety step to prevent accidents.
Measure the Space
Measure the appliance’s dimensions and the space where it will be installed. Allow for 1-2 inches of ventilation space around the appliance to ensure proper airflow.
Read the Manual
Every appliance comes with a user manual that includes specific installation instructions. Take the time to read it thoroughly before beginning.
Clear the Area
Remove any obstacles, such as furniture or old appliances, from the installation area. Inspect the flooring and cabinets to ensure they can support the weight of the new appliance.
Check Local Codes
In some areas, certain installations (like gas lines) may require permits. Check your local regulations to avoid fines or complications.
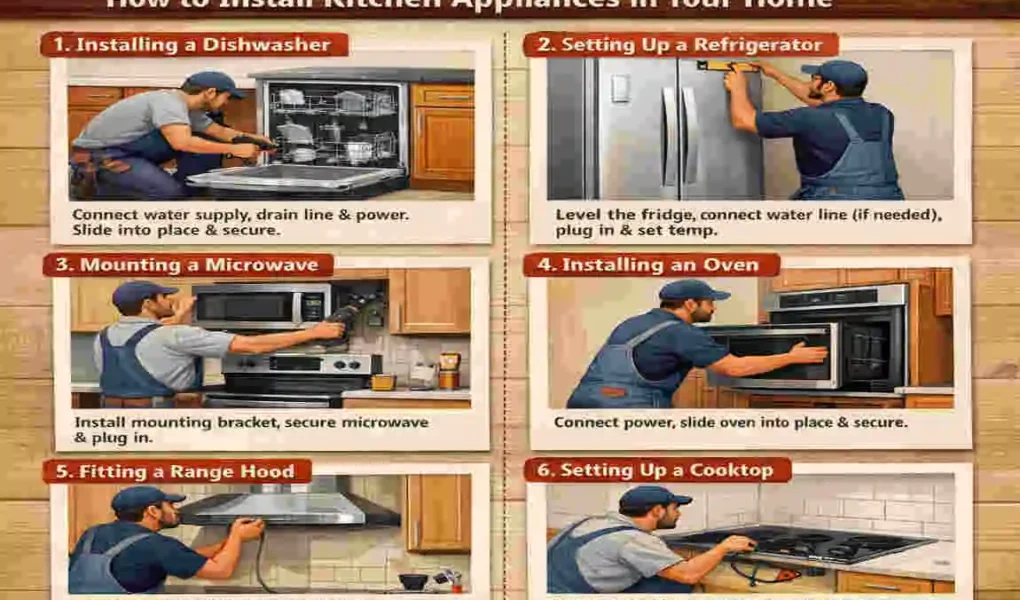
How to install Home Kitchen Appliances
Now that you’re prepared, let’s dive into the step-by-step installation process for common kitchen appliances.
Refrigerator Installation
- Measure Entryways and Space: Ensure the refrigerator can fit through doorways and into its designated spot.
- Level the Floor: Use a spirit level to make sure the floor is even. Adjust the refrigerator’s leveling feet if necessary.
- Connect the Water Line (if applicable): Attach the water supply line to the refrigerator for ice and water dispensers. Use Teflon tape to prevent leaks.
- Plug Into a Grounded Outlet: Ensure the outlet is properly grounded to avoid electrical issues.
- Adjust Doors and Test Cooling: Align the doors and test the cooling system to ensure it’s functioning properly.
Oven/Range Installation
Gas Oven Installation
- Position the Oven: Place the oven in its designated spot and ensure it’s level.
- Connect the Gas Line: Use a flexible gas connector and apply a bubble test to check for leaks.
- Secure the Anti-Tip Bracket: Attach the bracket to the wall to prevent the oven from tipping forward.
- Test Ignition: Turn on the gas and test the burners to ensure they ignite properly.
Electric Oven Installation
- Secure the Anti-Tip Bracket: As with gas ovens, this is a crucial safety step.
- Connect the Power Cord: Attach the cord to the oven and plug it into a grounded outlet.
- Test the Oven: Turn on the oven and test its heating elements.
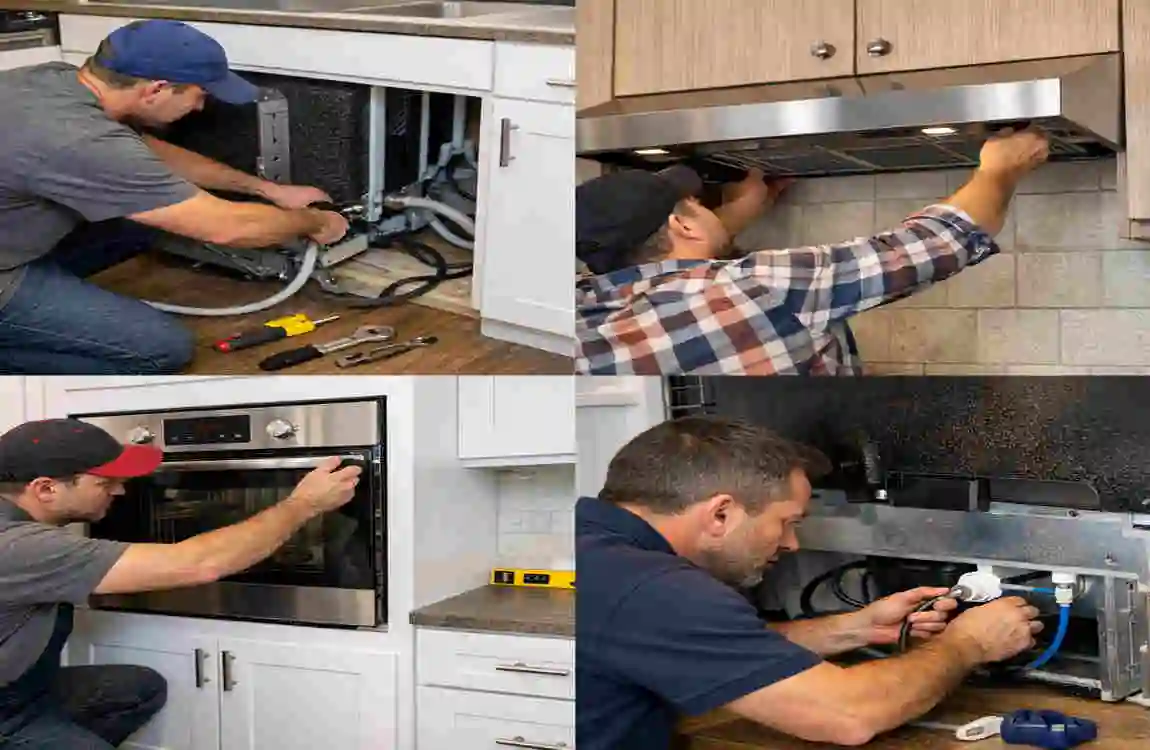
Dishwasher Installation
- Install Mounting Brackets: Attach the brackets to the countertop or cabinet to secure the dishwasher.
- Connect the Water Supply: Attach the water inlet hose to the dishwasher and the water supply valve.
- Connect the Drain Hose: Secure the drain hose to the sink drain or garbage disposal.
- Wire to the Junction Box: Connect the dishwasher’s electrical wires to the junction box.
- Secure Under the Counter: Slide the dishwasher into place and secure it with screws.
Microwave and Cooktop Installation
Microwave Installation
- Mount the Template: Use the provided template to mark the mounting holes on the wall.
- Drill and Secure: Drill the holes and secure the mounting bracket.
- Wire the Microwave: Connect the microwave to the power supply and mount it onto the bracket.
Cooktop Installation
- Cut the Countertop: If necessary, cut the countertop to fit the cooktop.
- Seal the Edges: Apply a sealant around the edges to prevent water damage.
- Connect Gas/Electric: Attach the gas line or electrical wires, depending on the type of cooktop.
Safety Tips for Installing Kitchen Appliances
Safety should always be your top priority when working with electrical, gas, or water connections.
General Safety Tips
- Use GFCI Outlets: Ground Fault Circuit Interrupter outlets are essential for preventing electrical shocks.
- Secure All Units: Ensure appliances are properly anchored to prevent tipping.
- Perform Final Checks: Double-check all connections and test the appliance before full use.
Common Mistakes to Avoid
- Skipping the bubble test for gas lines.
- Over-tightening water connections can cause leaks.
- Ignoring ventilation requirements for refrigerators and ovens.
Troubleshooting Common Installation Issues
Even with careful preparation, issues can arise. Here’s how to address some common problems:
- Uneven Leveling: Adjust the appliance’s feet or use shims to level it.
- Leaks: Tighten connections and apply Teflon tape if necessary.
- Power Failures: Check the circuit breaker and ensure the outlet is functioning.
Maintenance After Installation
Proper maintenance can extend the lifespan of your appliances and keep them running efficiently.
- Clean Vents and Filters: Regularly clean vents and replace filters to maintain airflow.
- Check Seals: Inspect door seals on refrigerators and ovens to ensure they’re airtight.
- Update Warranties: Register your appliances to activate warranties and access support.
When to Hire Professionals
While DIY installation is rewarding, some tasks are best left to professionals. Consider hiring an expert for:
- Gas line installations.
- Complex electrical wiring.
- Rental properties where DIY work may void the lease agreement.
FAQs for “How to Install Home Kitchen Appliances”:
What should I do before installing kitchen appliances?
Measure your space, check power/water/gas connections, and read the manufacturer’s manual carefully.
Can I install kitchen appliances myself?
Yes, for basic appliances like microwaves or dishwashers. For gas or complex electrical work, hire a professional.
What tools are needed for appliance installation?
Common tools include a screwdriver, wrench, level, drill, and measuring tape.
How do I install a kitchen refrigerator?
Place it on a level surface, leave space for ventilation, connect the water line (if needed), and plug it in.
How is a dishwasher installed?
Connect it to the water supply, drain line, and power source, then secure it under the countertop.
Do I need ventilation for kitchen appliances?
Yes, especially for ovens, stoves, and microwaves to prevent heat and moisture buildup.