Step-by-Step Guide to Installing Metal Roofing: What You Need to Know
Are you tired of constantly repairing your roof or dealing with leaks every time the weather changes? It might be time to consider a long-lasting solution that not only enhances your home’s curb appeal but also provides unmatched durability. Enter metal roofing—a game-changer in the world of home improvement! In this step-by-step guide, we’ll walk you through everything you need to know about installing metal roofing. From selecting the right materials to ensuring a flawless installation, we’ve got you covered. Whether you’re a seasoned DIY enthusiast or a curious first-timer, grab your toolkit and let’s transform your roof into one that stands strong against nature’s fiercest challenges!
Introduction
Metal roofing is rapidly gaining traction among homeowners, and it’s easy to see why. With its sleek appearance, exceptional durability, and impressive energy efficiency, metal roofing not only enhances curb appeal but also offers long-term savings. As more people seek sustainable options for their homes, the switch to metal roofs has become a popular trend across various regions.
If you’re considering this upgrade for your property or simply want to know more about what’s involved in metal roofing installation, you’ve come to the right place. This guide will take you through every essential step of the process—from understanding different materials to preparing your roof for installation. Let’s dive into the world of metal roofing and discover how you can transform your home with this modern solution!
-
Explanation of why metal roofing is becoming popular
Metal roofing is gaining traction among homeowners for several compelling reasons. One major factor is its impressive durability. Unlike traditional materials, metal roofs can withstand harsh weather conditions, from heavy rain to intense heat.
Another appealing aspect is the energy efficiency they offer. Metal reflects sunlight, which can significantly reduce cooling costs during hot months. This eco-friendly choice aligns well with modern sustainability goals.
Additionally, metal roofing requires minimal maintenance compared to asphalt shingles. Homeowners appreciate not having to worry about frequent repairs or replacements.
Aesthetically, metal roofs come in a variety of styles and colors that complement any home design. This versatility enables homeowners to enhance their curb appeal without sacrificing functionality.
As more people recognize these benefits, it’s clear why metal roofing has become a favored option in today’s market.
What is Metal Roofing?
Metal roofing refers to a durable and versatile type of roofing made from various metal materials. Common choices include steel, aluminum, copper, and zinc. Each offers distinct advantages depending on the climate and aesthetic preferences.
One major benefit is longevity. Metal roofs can last 40 to 70 years with proper maintenance, far outpacing traditional shingles. Additionally, they reflect heat well, making homes cooler in warmer climates.
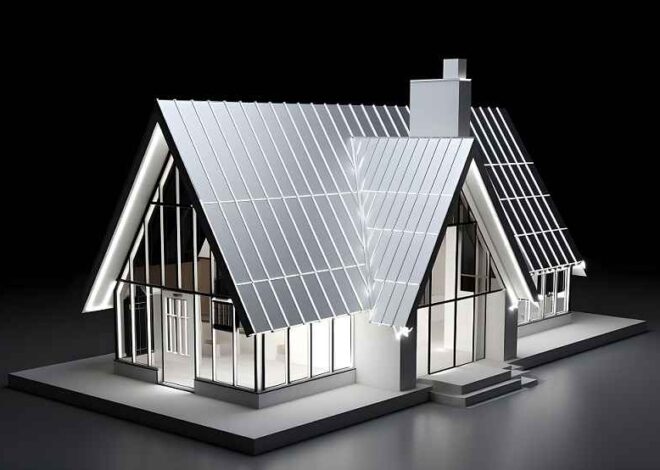
There are different styles available too. From standing seam panels to corrugated sheets and metal tiles, homeowners have plenty of options for design flexibility.
Furthermore, metal roofing is eco-friendly as it often contains recycled materials and is fully recyclable at the end of its life cycle. This makes it an appealing choice for those focused on sustainability while enhancing their property’s value.
-
Definition and types of metal roofing materials
Metal roofing is a robust and sustainable choice for homeowners. It encompasses various materials, each with unique characteristics.
Steel is one of the most common options. Known for its durability, it often comes in galvanized or galvalume forms to resist rust and corrosion.
Aluminum is another popular choice, especially in coastal areas where saltwater can cause damage. Lightweight yet strong, aluminum roofs offer excellent longevity.
Copper stands out due to its striking appearance and natural patina that develops over time. It’s a premium option but offers unmatched aesthetics.
Finally, there’s zinc—a lesser-known material that boasts impressive self-healing properties when scratched. This type of roofing can last well over 100 years if maintained properly.
Each metal type brings distinct advantages, making it essential to consider your specific needs before choosing the right one for your home.
-
Benefits of using metal roofing
Metal roofing offers a range of advantages that appeal to homeowners and builders alike. One major benefit is its durability. Metal roofs can withstand extreme weather conditions, including heavy rain, snow, and wind.
Another significant advantage is energy efficiency. Many metal roofing materials have reflective properties that help keep homes cooler in the summer months. This can lead to reduced energy costs over time.
Additionally, metal roofs are low-maintenance compared to traditional options like asphalt shingles. They resist fading, cracking, and warping, requiring minimal upkeep throughout their lifespan.
The aesthetic appeal is also noteworthy; with various colors and styles available, metal roofing can enhance any home’s curb appeal while providing a modern look. Plus, many types of metal roofing are made from recycled materials and are recyclable themselves—making them an eco-friendly choice for sustainable building practices.
Planning for Installation
Before diving into metal roofing installation, careful planning is essential. Start by assessing the condition of your existing roof. Look for any signs of damage or wear that might require attention before you begin.
Next, consider your budget. Metal roofing can be a significant investment, so it’s crucial to map out all costs involved. Factor in materials, labor (if hiring professionals), and any additional repairs needed.
Research different types of metal roofs available on the market as their prices vary significantly based on material and style. Having a clear financial picture will help prevent surprises down the line.
Lastly, check local building codes or regulations regarding roofing projects in your area. This ensures compliance and helps avoid potential legal hurdles during installation. Taking these steps will set a solid foundation for your upcoming project.
-
Assessing roof condition
Before diving into metal roofing installation, take a good look at your current roof’s condition. This step is crucial.
Start by inspecting for any signs of wear or damage. Look for missing shingles, rust spots, or sagging areas that may indicate underlying issues.
Check the flashing around chimneys and vents too. If it’s deteriorated, it could cause leaks later on.
Don’t forget to assess the overall structure of your home as well. Ensure there are no obstructions like tree branches that could bring debris onto your new roof.
If you find significant problems during this assessment, consider consulting a professional before moving forward with installation. It’s better to address these concerns now rather than deal with complications down the line.
-
Budget considerations
When planning your metal roofing installation, budget considerations play a crucial role. It’s essential to understand the costs involved beyond just materials. Labor expenses can fluctuate based on local rates and the complexity of your roof.
Begin by estimating material costs, which vary depending on the type of metal you choose—steel, aluminum, or copper. Each has its price point and benefits that might affect your decision.
Don’t forget about additional supplies like underlayment, fasteners, and sealants. These small items can add up quickly if not accounted for from the start.
Consider unexpected expenses too. It’s wise to set aside a contingency fund for surprises during installation such as hidden damages or necessary repairs that could arise once old shingles are removed.
By carefully evaluating these factors upfront, you’ll ensure a smoother installation process without overspending or facing financial stress later.
Preparing Your Roof for Installation
Preparing your roof for metal roofing installation is crucial. Start by removing old shingles and any debris. A clean surface helps the new roofing adhere better.
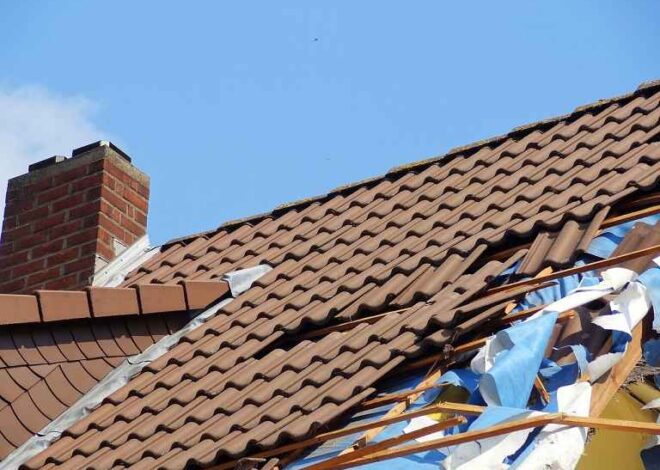
Next, inspect the existing structure for damages or leaks. Any issues should be addressed before laying down new materials. Repairing weakened areas ensures longevity and durability.
Don’t forget to check the underlying sheathing; it must be solid and free of rot. If repairs are needed, replace damaged sections promptly.
Lastly, ensure proper ventilation in your attic space to prevent moisture buildup under the new metal roof. This will contribute to a healthier home environment and prolong your roof’s lifespan. Taking these steps makes all the difference in a successful installation process.
-
Removing old shingles and cleaning the surface
Before installing metal roofing, it’s crucial to remove old shingles. This step ensures a clean foundation for your new roof. Start by carefully lifting the shingles with a pry bar. Be mindful of nails; they can be sharp and pose risks.
Once the shingles are off, inspect the underlying surface for debris or loose materials. A thorough cleaning is essential here—any remnants can compromise your new installation. Use a broom or pressure washer to clear away dirt, leaves, and dust.
Next, check for any signs of rot or damage in the decking beneath the shingles. Addressing these issues now will save time and effort later on during your metal roofing installation process. It’s about creating an optimal environment for what’s to come next!
-
Repairing any damages or leaks
Before laying down your new metal roofing, it’s crucial to address any damages or leaks. Inspect the entire roof structure carefully. Look for signs of wear and tear, such as cracked shingles or rust spots.
If you spot damaged areas, take action immediately. For minor issues like small holes or cracks, use a roofing sealant to patch them up. This prevents water from seeping in during installation.
For more significant damage, consider replacing affected sections of wood sheathing. Ensure that everything is sturdy before proceeding with the metal panels.
Additionally, pay close attention to flashings around chimneys and vents. These are common leak points that require proper sealing to protect against moisture intrusion later on.
Taking these steps will help ensure a solid foundation for your new metal roof and enhance its longevity.
Choosing the Right Materials and Tools
When diving into metal roofing installation, selecting the right materials is crucial. Various metal options are available, including steel, aluminum, and copper. Each type has unique properties such as durability and weight. Consider your local climate when choosing—aluminum performs well in coastal areas while galvanized steel offers strength against harsh conditions.
Don’t overlook panel styles either; standing seam panels provide a sleek look and excellent water resistance. Corrugated sheets are another option for those seeking affordability combined with functionality.
Equally important is having the right tools on hand. A good-quality drill, safety glasses, and a measuring tape should be at the top of your list. Invest in a metal snip or saw designed for cutting through tough materials to ensure precise cuts without damaging your panels.
Taking time upfront to choose wisely will make all the difference during installation day.
-
Different types of metal roofing panels
Metal roofing panels come in several types, each designed to suit different aesthetics and functional needs. One popular choice is standing seam panels. These feature raised seams that interlock vertically, providing a sleek look while offering excellent durability.
Ribbed metal panels are another option. They have pronounced ridges running along the length of the panel, making them ideal for agricultural buildings or industrial settings due to their strength and low maintenance requirements.
Corrugated metal roofing is lightweight and easy to install. It has a wavy pattern that adds character while being highly effective at shedding water.
Lastly, there’s tile-style metal roofing. This mimics traditional clay or slate tiles but with the benefits of metal’s longevity and energy efficiency. Each type offers unique advantages tailored to specific design preferences and practical considerations.
-
Necessary tools for installation
When embarking on a metal roofing installation, having the right tools is crucial. Start with a good quality safety harness and helmet to keep yourself protected while working at heights.
Next, invest in a sturdy ladder suited for your roof’s pitch. A reliable extension ladder can make accessing high areas much easier and safer.
You will also need basic hand tools like a hammer, utility knife, and pliers for various tasks throughout the project. These are essential for cutting panels and securing materials.
For precision cuts, consider using an electric metal cutter or circular saw fitted with a metal-cutting blade. This equipment ensures clean edges that fit together seamlessly.
Lastly, don’t forget about fasteners such as screws and clips specifically designed for metal roofs. They play an important role in ensuring stability against harsh weather conditions. Being well-equipped sets the stage for success in your installation journey.
Step-by-Step Installation Guide
Begin by laying down a quality underlayment. This acts as a moisture barrier and ensures your metal roofing remains secure against the elements. Make sure to smooth it out, eliminating any wrinkles or bubbles.
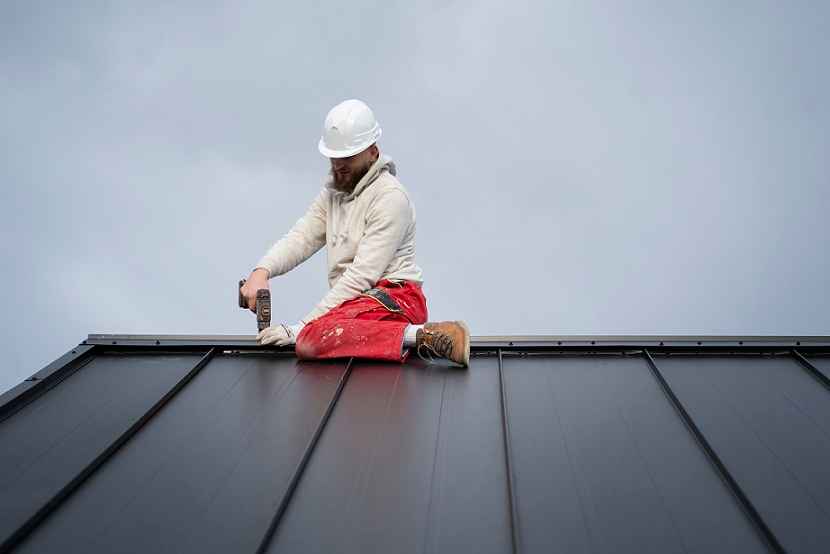
Next, it’s time for the metal panels. Start from one side of the roof and work your way across. Align each panel properly to ensure an even fit, overlapping edges where necessary.
Secure each panel using screws designed specifically for metal roofs. This prevents leaks and keeps everything in place during adverse weather conditions.
Once all panels are installed, focus on sealing seams and edges meticulously. Use specialized sealant or tape that’s compatible with metal roofing materials to create a watertight barrier.
Take some time to inspect your installation thoroughly before moving on. Ensure every detail is just right; this step can save you headaches later on.
-
Laying down underlayment and securing it properly
Laying down underlayment is a critical step in metal roofing installation. This layer provides an added barrier against moisture and enhances insulation.
Start by rolling out the underlayment across the roof deck. Ensure it overlaps at least six inches where the sheets meet. Use a utility knife to trim edges for a snug fit around vents and chimneys.
Securing it properly is just as important. Utilize roofing staples or nails, placing them every 12 to 18 inches along the seams and edges. Make sure each fastener penetrates through both layers of material.
Always double-check that there are no wrinkles or air pockets, as these can lead to leaks later on. A smooth surface will ensure better adhesion of your metal panels, contributing to durability over time. Properly installed underlayment lays the foundation for a successful metal roofing project.
-
Installing the metal panels in the correct order
When it comes to installing metal panels, order matters. Start at the eaves and work your way up towards the ridge. This method ensures that water flows over each panel, preventing leaks.
Make sure you overlap every panel properly as you move along. A minimum of a couple of inches should do the trick for adequate coverage and security.
As you secure each panel, use screws specifically designed for metal roofing. They provide better grip and durability compared to standard screws.
Pay attention to any flashing needed around vents or chimneys during this phase. Properly installed flashing will keep moisture out while preserving the integrity of your roof.
If working on a slope, ensure that panels are aligned correctly before fastening them down completely; adjustments can be made more easily when they’re not fully secured yet.
-
Properly sealing seams and edges
Properly sealing seams and edges is crucial for the longevity of your metal roofing installation. After you’ve secured all the panels, take extra care to seal any overlapping joints and edges. Use high-quality sealants or tape specifically designed for metal roofing. This will help prevent moisture from seeping through, protecting your home from leaks and water damage.
Ensure that you follow the manufacturer’s guidelines when applying these seals, as different materials may require specific products. Pay attention to areas around vents, chimneys, and ridges where water flow can be more pronounced. Sealing these critical points effectively will enhance your roof’s durability.
Inspecting all sealed areas regularly post-installation is also a smart practice. This ensures that everything remains intact over time and helps catch potential issues before they escalate into bigger problems. With proper maintenance, your metal roof can last for decades while providing excellent protection against the elements.
Now you’re equipped with everything you need for successful metal roofing installation! It’s an investment in both aesthetics and functionality that pays off well in terms of energy efficiency and resale value. Embrace this project confidently; soon you’ll enjoy the benefits of a beautifully installed metal roof above your head.


