Are you tired of spending a fortune on home repairs? Do you wish there was a way to save both money and time while still keeping your home in tip-top shape? Look no further!
Say goodbye to expensive contractors and hello to the satisfaction of fixing things yourself!
Introduction: The rise of DIY home repairs
Are you ready to roll up your sleeves, grab some tools, and tackle those pesky home repairs like a pro? DIY home repairs are on the rise as more homeowners discover the satisfaction of fixing things themselves. Not only can it save you money, but it also gives you the freedom to personalize and improve your living space without breaking the bank. In this blog post, we’ll explore how DIY home repairs can be a game-changer for both your wallet and your sense of accomplishment. So let’s dive in and unleash your inner handyman or handywoman!
Benefits of DIY home repairs: Save money and time
Are you looking to spruce up your living space without breaking the bank? DIY home repairs might just be the answer you’re searching for! One of the biggest advantages of tackling home improvement projects on your own is the significant cost savings it can bring. Instead of shelling out big bucks for professional services, you can invest your time and effort into learning new skills and completing tasks yourself.
Not only does DIY save you money, but it also saves valuable time. By taking matters into your own hands, you eliminate the need to wait around for contractors or repairmen to schedule appointments. With a bit of motivation and some basic know-how, you can efficiently address issues in your home at a pace that suits your schedule.
Whether it’s fixing a leaky faucet or giving a room a fresh coat of paint, DIY projects empower homeowners to take control of their living environment while reaping the benefits of saving both money and time in the process.
Factors to consider before attempting a DIY repair
Before diving into a DIY home repair project, there are several factors to consider that can impact the success of your endeavor. Firstly, assess your own skill level and experience with similar tasks – biting off more than you can chew may lead to costly mistakes.
Next, thoroughly research the specific repair you plan to tackle. Understanding the process beforehand will help avoid unexpected challenges along the way. Additionally, make sure you have the necessary tools and materials on hand before starting any work.
Consider the time commitment required for the repair – rushing through a project could result in errors or incomplete work. It’s also crucial to prioritize safety; if a repair involves electrical components or structural integrity, proceed with caution or seek professional assistance.
By carefully evaluating these factors beforehand, you’ll set yourself up for a successful DIY home repair experience while saving money and time in the process.
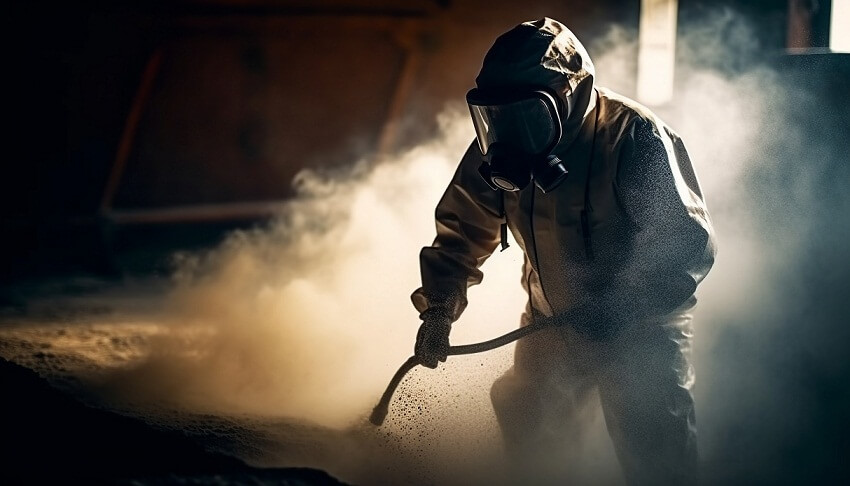
Important tools and materials for common home repairs
When it comes to tackling DIY home repairs, having the right tools and materials is essential for a successful outcome. For plumbing repairs, make sure you have a pipe wrench, plumber’s tape, and a plunger on hand. These basic tools can help you fix common issues like leaks or clogs.
For electrical repairs, invest in a voltage tester, wire cutters, and electrical tape to safely address any wiring problems. Always remember to turn off the power before working on any electrical components.
Painting and drywall repairs require paintbrushes, rollers, spackle, sandpaper, and painter’s tape. These items will help you achieve a professional finish when touching up walls or ceilings.
When it comes to flooring repairs, ensure you have extra flooring material available for patching up damaged areas. Tools like a utility knife, hammer, and nails may also be necessary depending on the type of flooring you have.
Having the proper tools and materials readily available will not only save you time but also make your DIY home repair projects more efficient and effective.
Step-by-step guide to successful DIY home repairs
Are you ready to tackle those DIY home repairs like a pro? Let’s break it down step-by-step for successful fixes.
First things first, identify the issue at hand. Whether it’s a leaky faucet or a flickering light, pinpointing the problem is crucial.
Next, gather all the necessary tools and materials before diving in. Having everything prepared will save you time and frustration during the repair process.
Now, follow detailed tutorials or guides specific to your repair task. Understanding each step ensures a smoother execution of the fix.
As you work through each stage of the repair, take your time and pay attention to detail. Rushing can lead to mistakes that may cost you more in the long run.
Lastly, don’t hesitate to seek help from online forums or professionals if needed. Sometimes getting expert advice can make all the difference in successfully completing your DIY home repairs.
-
Plumbing repairs
Plumbing repairs can be intimidating, but with the right approach, you can tackle them successfully. Start by identifying the issue – whether it’s a leaky faucet, a clogged drain, or a running toilet. Next, gather the necessary tools like a wrench, plunger, and pipe snake.
Before diving in, turn off the water supply to prevent any accidents. When working on pipes or fittings, remember to use plumber’s tape for secure connections. For minor leaks, sealants can offer a quick fix. Don’t forget to double-check your work before turning the water back on.
For more complex problems like replacing pipes or fixtures, research proper techniques beforehand or consult online tutorials. And if you’re unsure about your abilities or face unexpected challenges during the repair process – don’t hesitate to seek professional help!
-
Electrical repairs
When it comes to DIY electrical repairs, safety should always be your top priority. Before attempting any electrical work, make sure to turn off the power at the breaker box to avoid any accidents.
Start by identifying the issue you’re facing and do some research on how to address it properly. Whether it’s replacing a light fixture or fixing a faulty outlet, having a clear plan is essential.
Invest in quality tools such as wire cutters, voltage testers, and insulated screwdrivers to ensure you have everything you need for the job.
Follow step-by-step guides or tutorials from reputable sources to guide you through the repair process. If you feel unsure at any point, don’t hesitate to seek help from a professional electrician.
Remember that electrical work can be dangerous if not done correctly, so always prioritize your safety and know when it’s time to call in an expert.
You may also read (cost of home improvement insurance)
-
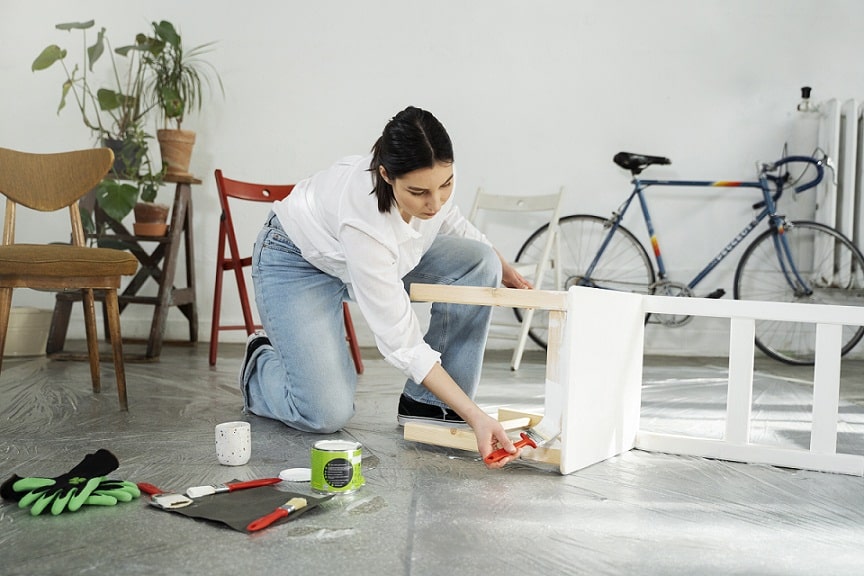
Painting and drywall repairs
Painting and drywall repairs are common tasks that many homeowners can tackle themselves with the right guidance. When it comes to painting, preparation is key. Start by cleaning the walls thoroughly and filling in any holes or cracks with spackle. Sand the area smooth before applying primer to ensure a flawless finish.
Choosing the right paint color can transform a room, so take your time selecting shades that complement your space. Remember to use painter’s tape to protect trim and edges for clean lines. When it comes to drywall repairs, patching small holes or dents is a simple process.
Apply joint compound evenly over the damaged area, let it dry, sand it down, and repeat if necessary until smooth. For larger repairs, consider using self-adhesive mesh tape for added reinforcement before mudding and sanding. With patience and attention to detail, you can achieve professional-looking results with painting and drywall repairs at home!
-
Flooring repairs
Are your floors showing signs of wear and tear? Whether it’s a squeaky floorboard or a scratch that needs fixing, tackling flooring repairs can give your home a fresh look. Before starting any repair work, assess the extent of the damage to determine if it’s something you can handle on your own.
For minor scratches on hardwood floors, consider using wood filler to smooth out the imperfections. Sanding and refinishing may be necessary for deeper scratches or gouges. Laminate flooring repairs often involve replacing damaged planks by carefully removing and installing new ones.
Carpet repairs like patching up torn areas or re-stretching loose carpet can make a big difference in restoring the appearance of your space. With the right tools and materials on hand, you’ll be well-equipped to tackle various flooring issues efficiently.
Remember to always follow safety precautions when working with power tools or sharp objects during flooring repairs. If you’re unsure about how to proceed with a particular repair, don’t hesitate to seek guidance from online tutorials or consult with professionals in the field.
-
Appliance repairs
When it comes to DIY appliance repairs, a little know-how can save you both money and time. Before diving in, always unplug the appliance and refer to the manufacturer’s manual for guidance. Start by troubleshooting the issue – is it a simple fix like a clogged filter or something more complex?
For common problems like a leaky dishwasher or a noisy refrigerator, identifying the root cause is key. Make sure you have the necessary tools on hand such as screwdrivers, multimeters, and replacement parts before starting any repair.
Whether it’s fixing a malfunctioning washing machine or repairing a microwave that won’t heat up, approach each task methodically. Take your time to understand how the appliance works and follow step-by-step guides from reliable sources.
Remember safety first – if you’re unsure about handling electrical components or gas appliances, it’s best to call in a professional technician. With patience and attention to detail, DIY appliance repairs can be satisfying and cost-effective projects!
How to troubleshoot common problems and when to call a professional
When facing common home repair problems, it’s essential to troubleshoot before deciding whether a professional is needed. For plumbing issues like clogged drains or leaky faucets, start by checking for visible blockages and tightening connections. Electrical problems such as flickering lights may require resetting breakers or changing light bulbs.
For painting and drywall repairs, ensure the surface is clean and properly prepped before applying paint or patching holes. When dealing with flooring issues like squeaky boards or loose tiles, investigate the root cause to determine if a simple fix can be done.
Appliance troubles often stem from minor issues like dirty filters or faulty cords that can be resolved with basic maintenance. However, if troubleshooting doesn’t solve the problem or if safety is a concern, don’t hesitate to call a professional for expert assistance.
Tips for Successful DIY Home Repairs
- Start small: If you are new to DIY repairs, begin with simple projects like fixing a leaky faucet or painting a room before tackling more complex tasks.
- Research and educate yourself: Take the time to watch tutorials, read guides, and understand the repair process before starting any project.
- Invest in quality tools: Having the right tools for the job can make all the difference in successfully completing a DIY repair.
- Safety first: Always prioritize safety when working on home repairs. Wear protective gear, turn off power sources when necessary, and follow all safety guidelines.
- Take your time: Rushing through a repair can lead to mistakes and even more costly damage. Be patient and thorough in your work.
- Don’t be afraid to ask for help: If you encounter difficulties or feel unsure about a repair, don’t hesitate to seek advice from professionals or experienced DIYers.
By following these tips and guidance provided in this article on DIY home repairs, you can save money and time while also gaining valuable skills in maintaining your home effectively. Happy repairing!
You may also read (comprehensive home inspections importance)