Can You DIY Your Own Roof Installation?
DIY roof installation is a bold and adventurous choice for many homeowners. It’s not just about saving money; it’s also about taking control of your living space and having a personal touch on your home. A well-maintained roof is crucial for protecting your home from the elements, ensuring comfort, and enhancing the aesthetic appeal of your property.
In this article, we’ll explore everything you need to know about DIY roof installation—from understanding what it entails to a step-by-step guide on how to do it safely and effectively. We’ll also discuss the risks involved, tools you’ll need, and when it might be best to call in a professional.
Let’s dive in!
Understanding DIY Roof Installation
What is DIY Roof Installation?
DIY roof installation refers to the process where homeowners take on the responsibility of installing a new roof without hiring professional contractors. This approach can be both rewarding and challenging, requiring careful planning and execution.
Advantages of DIY Roof Installation
There are several benefits to taking on a roofing project yourself:
- Cost Savings: One of the most attractive aspects of DIY is the potential to save on labor costs.
- Personal Satisfaction: Completing a home improvement project can give you a sense of accomplishment.
- Customization: You have full control over the materials and design choices.
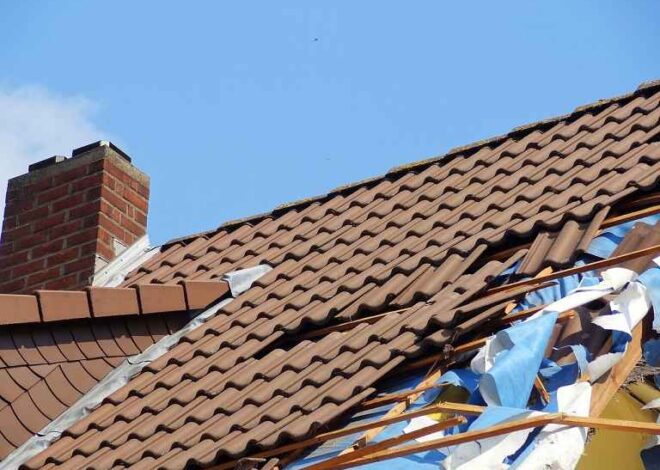
Potential Challenges and Risks
However, it’s important to recognize the risks involved:
- Safety Hazards: Working at heights can be dangerous without proper precautions.
- Complexity of Work: Roof installation requires specific skills and knowledge.
- Potential for Mistakes: Errors can lead to leaks and costly repairs down the line.
Assessing Your DIY Capabilities
Skills Required for Roof Installation
Before you embark on a roofing project, assess your skills. Essential skills include:
- Basic Carpentry: Understanding how to work with wood.
- Problem-Solving: Ability to troubleshoot issues as they arise.
- Physical Stamina: Roofing can be physically demanding.
Physical Demands of the Job
Roof installation isn’t just about skill; it also requires physical strength and endurance. Be prepared for:
- Lifting Heavy Materials: Roofing materials can be heavy and cumbersome.
- Extended Hours on Your Feet: You’ll be working on your feet for long periods.
- Climbing Ladders: Being comfortable with heights is crucial.
Time Commitment Needed
How much time will you need? It depends on several factors, including:
- Roof Size: Larger roofs take longer to complete.
- Your Experience Level: More experienced DIYers will work faster.
- Weather Conditions: Rain or extreme temperatures can delay progress.
Tools and Materials Needed for DIY Roof Installation
Essential Tools for the Job
Here’s a list of tools you’ll need for a successful DIY roof installation:
- Ladder: For accessing your roof safely.
- Nail Gun: Makes the nailing process quicker and easier.
- Roofing Hammer: Essential for hand-nailing shingles.
- Measuring Tape: Accurate measurements are key to a good fit.
Required Materials and Their Purposes
You’ll also need specific materials, including:
- Shingles: The primary roofing material.
- Underlayment: Acts as a barrier against moisture.
- Drip Edge: Helps direct water away from the roof edge.
Where to Source Quality Roofing Supplies
You can find roofing materials at:
- Local Hardware Stores: Great for smaller projects.
- Home Improvement Centers: Larger selections available.
- Online Suppliers: Convenient and often cost-effective.
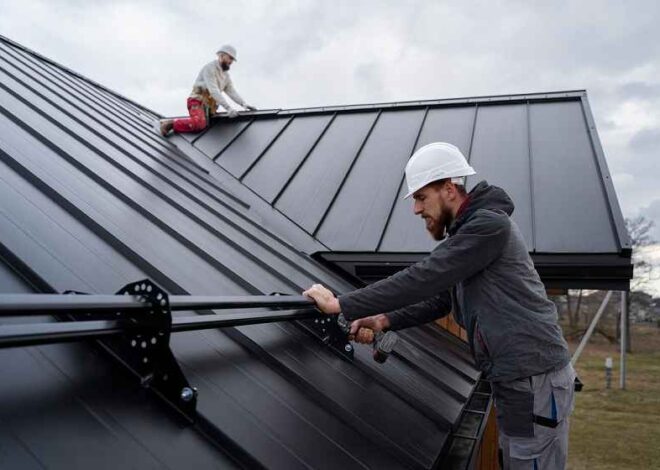
Safety Precautions for DIY Roof Installation
Personal Protective Equipment (PPE)
Safety should always be your top priority. Wear the following PPE:
- Hard Hat: Protects your head from falling debris.
- Safety Glasses: Shields your eyes from dust and particles.
- Non-Slip Footwear: Reduces the risk of slipping on the roof.
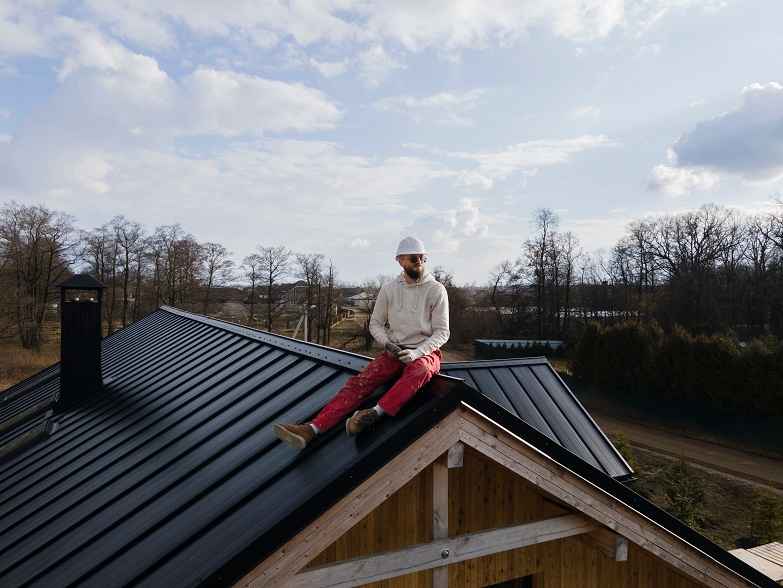
Ladder and Scaffolding Safety
Using ladders and scaffolding safely is crucial:
- Inspect Equipment: Always check for damage before use.
- Secure the Base: Ensure stability on uneven ground.
- Maintain Three Points of Contact: Always have two hands and a foot, or two feet and a hand, on the ladder.
Weather Considerations
Weather can significantly affect your project:
- Avoid Rainy Days: Wet surfaces can be slippery.
- Check Wind Conditions: High winds can make working on a roof dangerous.
- Choose Mild Temperatures: Hot or cold extremes can affect your performance.
Step-by-Step Guide to DIY Roof Installation
1. Planning and Preparation
Obtaining Necessary Permits
Before you start, check local regulations. Some areas require permits for roofing projects.
Measuring Your Roof
Accurate measurements are essential. Use a measuring tape to determine the dimensions of your roof.
Calculating Materials Needed
Once you have your measurements, calculate how much roofing material you’ll need. It’s better to overestimate than underestimate!
2. Removing Old Roofing
Techniques for Safe Removal
When removing old roofing, follow these steps:
- Start at the Peak: Work your way down to minimize debris.
- Use a Pry Bar: This helps lift shingles without damaging the roof deck.
Proper Disposal of Old Materials
Dispose of old roofing materials responsibly. Check local regulations for disposal options.
3. Inspecting and Repairing the Roof Deck
Identifying Damaged Areas
Examine your roof deck for any signs of rot or damage.
Replacing Rotted Wood
If you find rotted sections, replace them with new wood to ensure structural integrity.
4. Installing Underlayment and Drip Edge
Types of Underlayment
There are different types of underlayment available:
- Felt Paper: The most common option.
- Synthetic Underlayment: More durable and resistant to moisture.
Proper Installation Techniques
Lay the underlayment from the bottom up, overlapping each row to prevent water infiltration.
5. Applying Roofing Materials
Shingle Installation Process
Start from the bottom and work your way up. Make sure each shingle overlaps the one below it.
Flashing and Vent Installation
Install flashing around chimneys and vents to prevent leaks. Ensure proper ventilation to allow moisture to escape.
6. Finishing Touches
Ridge Cap Installation
Install ridge caps along the peak of the roof to finish it off and protect against wind and water.
Clean-Up and Final Inspection
After completing your installation, clean up the work area and conduct a thorough inspection to ensure everything is secure and correct.
Common Mistakes to Avoid in DIY Roof Installation
- Improper Nail Placement: Ensure nails are placed correctly to avoid leaks.
- Inadequate Ventilation: Good airflow is essential to prevent moisture buildup.
- Ignoring Manufacturer Guidelines: Always follow the guidelines provided with your roofing materials.
When to Call a Professional
Signs that the Job is Too Complex
If you notice any of the following, it might be time to call in a pro:
- Structural Damage: Extensive water damage or rot.
- Complex Roof Features: Multiple angles, valleys, or dormers.
- Health Issues: If you’re uncomfortable with heights or physical strain.
Legal Considerations
Check local laws regarding DIY projects. Some areas have regulations that may require professional oversight.
Insurance Implications
Before you start, review your homeowner’s insurance policy. Some policies may not cover DIY work gone wrong.
Cost Comparison: DIY vs. Professional Roof Installation
Breakdown of DIY Costs
DIY costs can include:
| Item | Estimated Cost |
| Materials | $2,000 – $5,000 |
| Tools | $200 – $500 |
| Safety Gear | $100 – $300 |
| Total | $2,300 – $5,800 |
Average Professional Installation Costs
Hiring a professional can range from $5,000 to $10,000, depending on the roof size and materials used.
Long-Term Cost Considerations
Consider the long-term implications of your choice:
- DIY: You may save upfront but risk higher maintenance costs if mistakes are made.
- Professional: Higher initial costs but potentially fewer repairs needed in the long run.
Maintenance Tips for Your DIY Roof
Regular Inspection Schedule
Regular inspections are key to maintaining your roof. Check it at least twice a year, ideally in spring and fall.
Simple Maintenance Tasks
Perform simple tasks like:
- Clearing Debris: Remove leaves and branches to prevent water buildup.
- Checking for Damage: Look for cracked or missing shingles after storms.
When to Consider Repairs or Replacement
If you notice persistent leaks, extensive damage, or if your roof is nearing the end of its lifespan (typically 20-30 years for asphalt shingles), consider repairs or a complete replacement.
Conclusion
In summary, DIY roof installation can be a rewarding project if approached with careful planning and execution. We’ve covered everything from assessing your capabilities and gathering the right tools to a comprehensive step-by-step guide.
Remember, while this can be a fun and informative experience, it’s crucial to prioritize safety and know when to bring in a professional.