<p><span data-preserver-spaces="true">When considering enhancements to your home, adding a gable porch roof not only boosts the overall aesthetic appeal but also increases the functionality of your outdoor space.</span></p>
<p><span data-preserver-spaces="true">By integrating the keyword </span><strong><span data-preserver-spaces="true">adding gable porch roof to the house</span></strong><span data-preserver-spaces="true">, we aim to guide you through the process, ensuring that your new porch roof stands out as a highlight of your home’s exterior.</span></p>
<h2><span data-preserver-spaces="true">Understanding Gable Porch Roofs</span></h2>
<p><img class="aligncenter wp-image-5299 size-full" src="https://comeawayhome.co.uk/wp-content/uploads/2025/04/GabledRoofPatioCover_Hero-58f9accde5733d6a8f2912d350a3d5e9-1.jpg" alt="adding gable porch roof to house" width="1416" height="820" /></p>
<p> </p>
<h4><span data-preserver-spaces="true">What is a Gable Porch Roof?</span></h4>
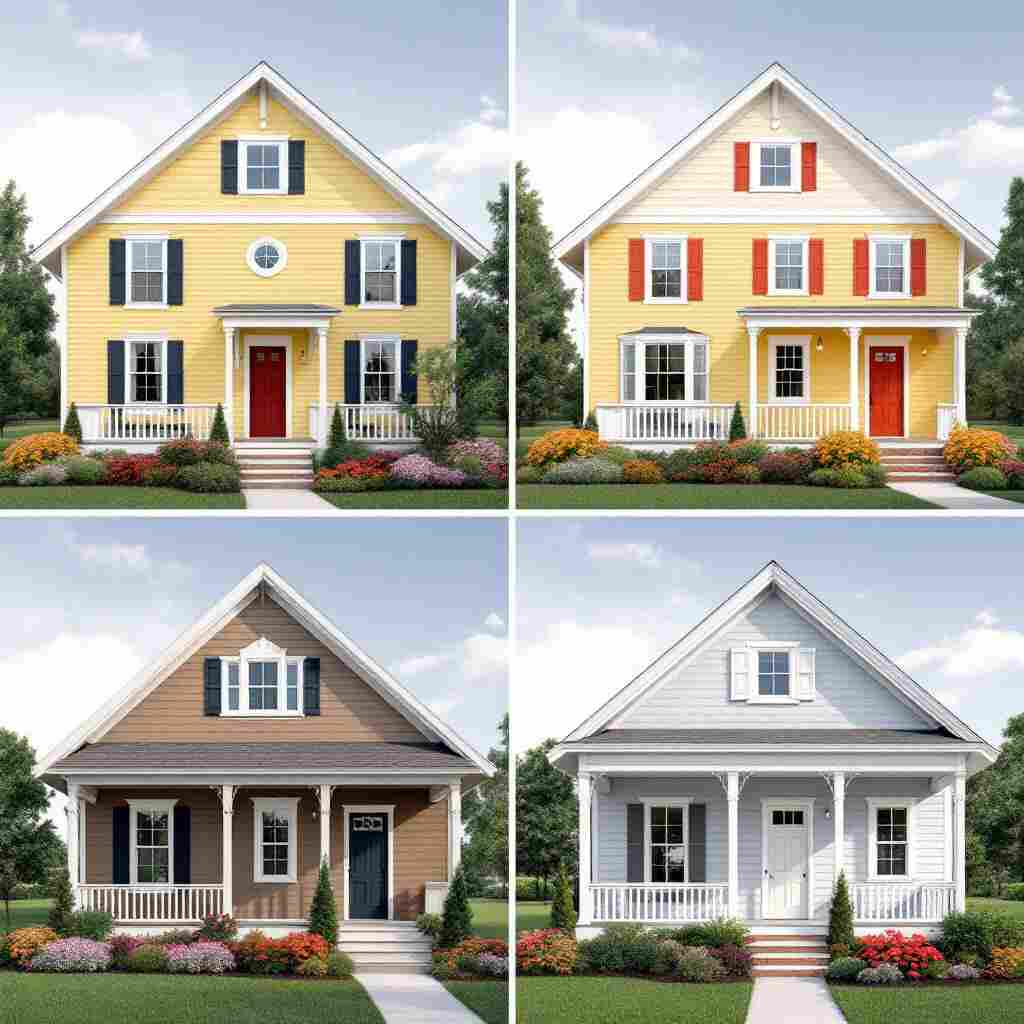
<p><span data-preserver-spaces="true">A gable porch roof features two sloping sides at a ridge, creating a triangular shape. This design is aesthetically pleasing and practical in shedding water and snow, making it ideal for many climates.</span></p>
<table class="border-borderMain dark:border-borderMainDark my-[1em] w-full table-auto border">
<thead class="bg-offset dark:bg-offsetDark">
<tr>
<th class="px-sm py-sm break-normal align-top"><strong>Step</strong></th>
<th class="px-sm py-sm break-normal align-top"><strong>Description</strong></th>
</tr>
</thead>
<tbody>
<tr>
<td class="border-borderMain px-sm dark:border-borderMainDark min-w-[48px] break-normal border"><strong>1. Plan and Design</strong></td>
<td class="border-borderMain px-sm dark:border-borderMainDark min-w-[48px] break-normal border">Create a detailed construction plan, including tools, materials, and measurements</td>
</tr>
<tr>
<td class="border-borderMain px-sm dark:border-borderMainDark min-w-[48px] break-normal border"><strong>2. Obtain Permits</strong></td>
<td class="border-borderMain px-sm dark:border-borderMainDark min-w-[48px] break-normal border">Ensure compliance with local building codes and regulations</td>
</tr>
<tr>
<td class="border-borderMain px-sm dark:border-borderMainDark min-w-[48px] break-normal border"><strong>3. Build Support Columns</strong></td>
<td class="border-borderMain px-sm dark:border-borderMainDark min-w-[48px] break-normal border">Install vertical support columns using concrete screws and braces for stability</td>
</tr>
<tr>
<td class="border-borderMain px-sm dark:border-borderMainDark min-w-[48px] break-normal border"><strong>4. Attach Ledger Board</strong></td>
<td class="border-borderMain px-sm dark:border-borderMainDark min-w-[48px] break-normal border">Secure a horizontal ledger board to the house’s structural framing using lag screws</td>
</tr>
<tr>
<td class="border-borderMain px-sm dark:border-borderMainDark min-w-[48px] break-normal border"><strong>5. Install Sill Plate</strong></td>
<td class="border-borderMain px-sm dark:border-borderMainDark min-w-[48px] break-normal border">Position and secure the sill plate flush with the top edges of the support columns</td>
</tr>
<tr>
<td class="border-borderMain px-sm dark:border-borderMainDark min-w-[48px] break-normal border"><strong>6. Position Rafters</strong></td>
<td class="border-borderMain px-sm dark:border-borderMainDark min-w-[48px] break-normal border">Mount rafters on the sill plate using joist hangers, ensuring alignment with the desired roof pitch</td>
</tr>
<tr>
<td class="border-borderMain px-sm dark:border-borderMainDark min-w-[48px] break-normal border"><strong>7. Frame Roof Structure</strong></td>
<td class="border-borderMain px-sm dark:border-borderMainDark min-w-[48px] break-normal border">Add rafters and mount fascia boards to create the porch roof frame</td>
</tr>
<tr>
<td class="border-borderMain px-sm dark:border-borderMainDark min-w-[48px] break-normal border"><strong>8. Cover with Sheathing</strong></td>
<td class="border-borderMain px-sm dark:border-borderMainDark min-w-[48px] break-normal border">Nail plywood sheathing onto rafters for structural support</td>
</tr>
<tr>
<td class="border-borderMain px-sm dark:border-borderMainDark min-w-[48px] break-normal border"><strong>9. Install Roofing Material</strong></td>
<td class="border-borderMain px-sm dark:border-borderMainDark min-w-[48px] break-normal border">Apply shingles or other roofing materials, starting at the house and working outward</td>
</tr>
<tr>
<td class="border-borderMain px-sm dark:border-borderMainDark min-w-[48px] break-normal border"><strong>10. Add Flashing</strong></td>
<td class="border-borderMain px-sm dark:border-borderMainDark min-w-[48px] break-normal border">Nail drip flashing between the porch roof and house siding to prevent leaks</td>
</tr>
<tr>
<td class="border-borderMain px-sm dark:border-borderMainDark min-w-[48px] break-normal border"><strong>11. Install Siding</strong></td>
<td class="border-borderMain px-sm dark:border-borderMainDark min-w-[48px] break-normal border">Finish by installing siding over the flashing for a seamless look</td>
</tr>
</tbody>
</table>
<p>You may also read <a href="https://comeawayhome.co.uk/under-metal-roofing-can-house-wrap-be-used/">(under metal roofing can house wrap be used)</a></p>
<p><strong><span data-preserver-spaces="true">Benefits of Gable Roofs:</span></strong></p>
<ul>
<li><strong><span data-preserver-spaces="true">Protection from the elements:</span></strong><span data-preserver-spaces="true"> Keeps your porch dry and usable regardless of the weather.</span></li>
<li><strong><span data-preserver-spaces="true">Curb appeal:</span></strong><span data-preserver-spaces="true"> Adds a classic design element to your home that can enhance its overall value.</span></li>
<li><strong><span data-preserver-spaces="true">Added value:</span></strong><span data-preserver-spaces="true"> Improves the resale value of your home by increasing its visual appeal and functional outdoor space.</span></li>
</ul>
<h4><span data-preserver-spaces="true">Why Choose a Gable Porch Roof for Your Home?</span></h4>
<p><span data-preserver-spaces="true">Gable roofs are often chosen for their architectural compatibility with a wide range of home styles, from traditional to contemporary. Moreover, they offer enhanced outdoor living space, ideal for relaxation or entertaining guests.</span></p>
<h2><span data-preserver-spaces="true">Planning the Addition</span></h2>
<h4><span data-preserver-spaces="true">Assessing Feasibility</span></h4>
<p><span data-preserver-spaces="true">Before adding a gable porch roof, it is essential to consider:</span></p>
<ul>
<li><strong><span data-preserver-spaces="true">Structural considerations:</span></strong><span data-preserver-spaces="true"> Ensure the existing structure can support the additional weight.</span></li>
<li><strong><span data-preserver-spaces="true">Local building codes and permits:</span></strong><span data-preserver-spaces="true"> Check with local authorities to comply with regulations and obtain necessary permits.</span></li>
</ul>
<h4><span data-preserver-spaces="true">Designing the Roof</span></h4>
<p><span data-preserver-spaces="true">When planning your porch roof:</span></p>
<ul>
<li><strong><span data-preserver-spaces="true">Choosing the right pitch and dimensions:</span></strong><span data-preserver-spaces="true"> The pitch should complement the existing roof for a cohesive look.</span></li>
<li><strong><span data-preserver-spaces="true">Materials selection:</span></strong><span data-preserver-spaces="true"> Opt for materials that will harmonize with your house, such as wood for a rustic look or metal for a modern appeal.</span></li>
</ul>
<h4><span data-preserver-spaces="true">Tools and Materials Needed</span></h4>
<p><span data-preserver-spaces="true">Essential tools include:</span></p>
<ul>
<li><span data-preserver-spaces="true">Circular saw</span></li>
<li><span data-preserver-spaces="true">Level</span></li>
<li><span data-preserver-spaces="true">Screws</span></li>
<li><span data-preserver-spaces="true">Hammer</span></li>
<li><span data-preserver-spaces="true">Measuring tape</span></li>
</ul>
<h2><span data-preserver-spaces="true">Step-by-Step Guide to Attaching a Gable Porch Roof</span></h2>
<p><img class="aligncenter wp-image-5300 size-full" src="https://comeawayhome.co.uk/wp-content/uploads/2025/04/image-50-1024x578-2-1.jpg" alt="adding gable porch roof to house" width="1024" height="578" /></p>
<h4><span data-preserver-spaces="true">Preparing the Site</span></h4>
<p><span data-preserver-spaces="true">Clear the area where the porch roof will be added. Inspect the existing structure to ensure it is sound and mark attachment points accurately.</span></p>
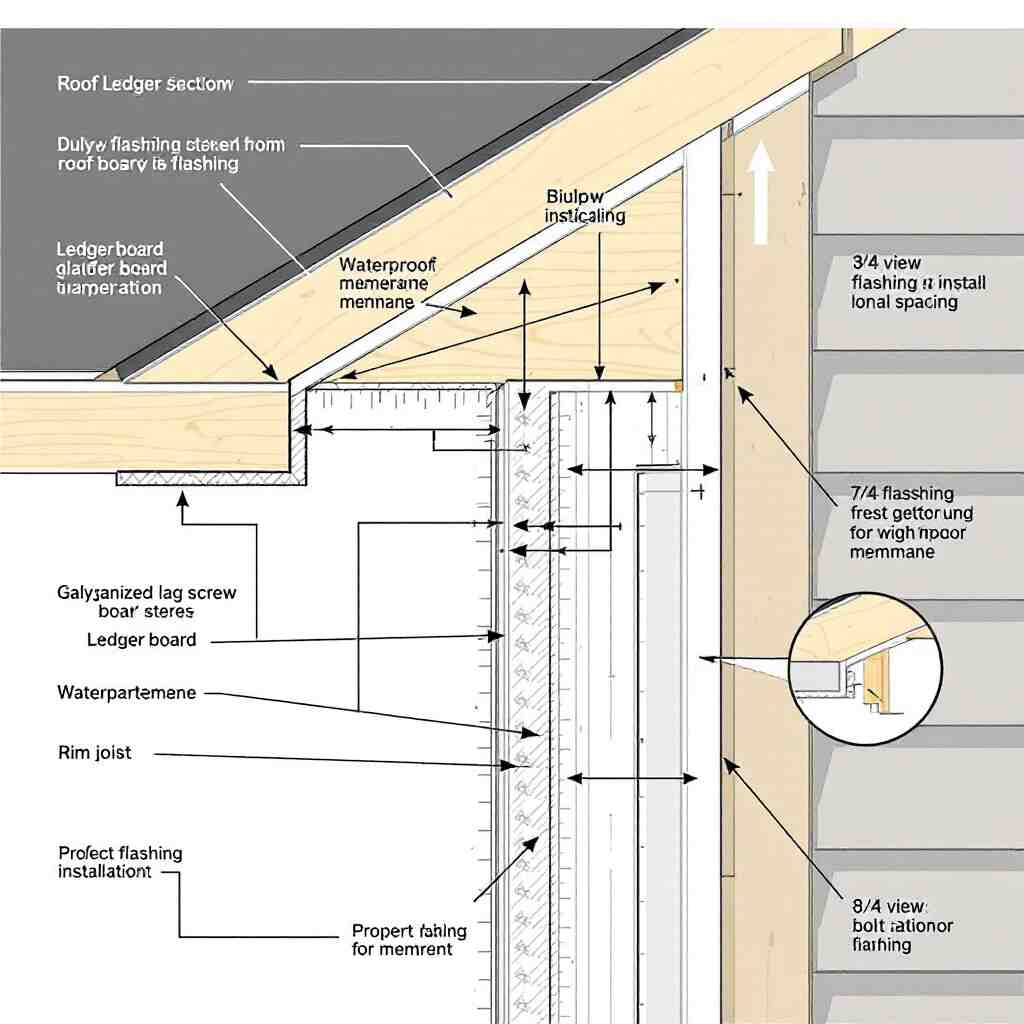
<h4><span data-preserver-spaces="true">Installing the Ledger Board</span></h4>
<p><span data-preserver-spaces="true">The ledger board is crucial for the stability of the porch roof. Position and secure it to the house using appropriate fasteners, ensuring it is level and firmly attached.</span></p>
<h4><span data-preserver-spaces="true">Attaching Rafters to the Ledger Board</span></h4>
<p><span data-preserver-spaces="true">Measure and cut the rafters according to the determined roof pitch. Attach them to the ledger board at even intervals to ensure a stable and symmetrical structure.</span></p>
<h4><span data-preserver-spaces="true">Installing Trusses or Brackets</span></h4>
<p><span data-preserver-spaces="true">Trusses or brackets are used to distribute the weight of the roof evenly. Install these components carefully to maintain the integrity of the roof structure.</span></p>
<h4><span data-preserver-spaces="true">Completing the Roof Framework</span></h4>
<p><span data-preserver-spaces="true">Add gable end pieces to provide additional support. Ensure all parts are aligned correctly before proceeding with the roofing material.</span></p>
<h4><span data-preserver-spaces="true">Roofing and Finishing Touches</span></h4>
<p><span data-preserver-spaces="true">Choose suitable roofing materials, such as shingles or metal panels, and install them along with gutters, trim, and flashing to protect against water infiltration.</span></p>
<table class="border-borderMain dark:border-borderMainDark my-[1em] w-full table-auto border">
<thead class="bg-offset dark:bg-offsetDark">
<tr>
<th class="px-sm py-sm break-normal align-top"><strong>Aspect</strong></th>
<th class="px-sm py-sm break-normal align-top"><strong>Details</strong></th>
</tr>
</thead>
<tbody>
<tr>
<td class="border-borderMain px-sm dark:border-borderMainDark min-w-[48px] break-normal border"><strong>Preparation</strong></td>
<td class="border-borderMain px-sm dark:border-borderMainDark min-w-[48px] break-normal border">– Obtain building plans and permits.</td>
</tr>
<tr>
<td class="border-borderMain px-sm dark:border-borderMainDark min-w-[48px] break-normal border"></td>
<td class="border-borderMain px-sm dark:border-borderMainDark min-w-[48px] break-normal border">– Ensure compliance with local building codes.</td>
</tr>
<tr>
<td class="border-borderMain px-sm dark:border-borderMainDark min-w-[48px] break-normal border"></td>
<td class="border-borderMain px-sm dark:border-borderMainDark min-w-[48px] break-normal border">– Gather tools and materials, including ledger boards, rafters, trusses, screws, nails, and flashing</td>
</tr>
<tr>
<td class="border-borderMain px-sm dark:border-borderMainDark min-w-[48px] break-normal border"><strong>Measuring & Marking</strong></td>
<td class="border-borderMain px-sm dark:border-borderMainDark min-w-[48px] break-normal border">– Measure and mark attachment points on the house for alignment.</td>
</tr>
<tr>
<td class="border-borderMain px-sm dark:border-borderMainDark min-w-[48px] break-normal border"></td>
<td class="border-borderMain px-sm dark:border-borderMainDark min-w-[48px] break-normal border">– Use a level to ensure markings are straight and accurate.</td>
</tr>
<tr>
<td class="border-borderMain px-sm dark:border-borderMainDark min-w-[48px] break-normal border"></td>
<td class="border-borderMain px-sm dark:border-borderMainDark min-w-[48px] break-normal border">– Consider placement around windows, doors, or other features</td>
</tr>
<tr>
<td class="border-borderMain px-sm dark:border-borderMainDark min-w-[48px] break-normal border"><strong>Installing Ledger Board</strong></td>
<td class="border-borderMain px-sm dark:border-borderMainDark min-w-[48px] break-normal border">– Attach the ledger board securely to the house at marked points.</td>
</tr>
<tr>
<td class="border-borderMain px-sm dark:border-borderMainDark min-w-[48px] break-normal border"></td>
<td class="border-borderMain px-sm dark:border-borderMainDark min-w-[48px] break-normal border">– Drill pilot holes and use screws to anchor it into the framing or masonry.</td>
</tr>
<tr>
<td class="border-borderMain px-sm dark:border-borderMainDark min-w-[48px] break-normal border"></td>
<td class="border-borderMain px-sm dark:border-borderMainDark min-w-[48px] break-normal border">– Ensure the ledger board is level and flush with the wall</td>
</tr>
<tr>
<td class="border-borderMain px-sm dark:border-borderMainDark min-w-[48px] break-normal border"><strong>Attaching Rafters</strong></td>
<td class="border-borderMain px-sm dark:border-borderMainDark min-w-[48px] break-normal border">– Cut rafters to the appropriate length based on roof pitch and porch dimensions.</td>
</tr>
<tr>
<td class="border-borderMain px-sm dark:border-borderMainDark min-w-[48px] break-normal border"></td>
<td class="border-borderMain px-sm dark:border-borderMainDark min-w-[48px] break-normal border">– Secure rafters to the ledger board, ensuring even spacing and alignment.</td>
</tr>
<tr>
<td class="border-borderMain px-sm dark:border-borderMainDark min-w-[48px] break-normal border"></td>
<td class="border-borderMain px-sm dark:border-borderMainDark min-w-[48px] break-normal border">– Use nails or screws for attachment</td>
</tr>
<tr>
<td class="border-borderMain px-sm dark:border-borderMainDark min-w-[48px] break-normal border"><strong>Adding Trusses/Brackets</strong></td>
<td class="border-borderMain px-sm dark:border-borderMainDark min-w-[48px] break-normal border">– Install trusses or brackets to provide additional support for the roof structure.</td>
</tr>
<tr>
<td class="border-borderMain px-sm dark:border-borderMainDark min-w-[48px] break-normal border"></td>
<td class="border-borderMain px-sm dark:border-borderMainDark min-w-[48px] break-normal border">– Consider ordering pre-made truss packages for small projects</td>
</tr>
<tr>
<td class="border-borderMain px-sm dark:border-borderMainDark min-w-[48px] break-normal border"><strong>Roofing & Finishing</strong></td>
<td class="border-borderMain px-sm dark:border-borderMainDark min-w-[48px] break-normal border">– Install ridge boards, shingles, flashing, gutters, and trim.</td>
</tr>
<tr>
<td class="border-borderMain px-sm dark:border-borderMainDark min-w-[48px] break-normal border"></td>
<td class="border-borderMain px-sm dark:border-borderMainDark min-w-[48px] break-normal border">– Ensure all connections are watertight to prevent leaks.</td>
</tr>
<tr>
<td class="border-borderMain px-sm dark:border-borderMainDark min-w-[48px] break-normal border"></td>
<td class="border-borderMain px-sm dark:border-borderMainDark min-w-[48px] break-normal border">– Select appropriate roofing materials for durability and aesthetics</td>
</tr>
<tr>
<td class="border-borderMain px-sm dark:border-borderMainDark min-w-[48px] break-normal border"><strong>Aesthetic Adjustments</strong></td>
<td class="border-borderMain px-sm dark:border-borderMainDark min-w-[48px] break-normal border">– Align fascia boards with existing rooflines for a cohesive look.</td>
</tr>
<tr>
<td class="border-borderMain px-sm dark:border-borderMainDark min-w-[48px] break-normal border"></td>
<td class="border-borderMain px-sm dark:border-borderMainDark min-w-[48px] break-normal border">– Maintain the existing porch footprint if desired (e.g., using an existing concrete slab)</td>
</tr>
</tbody>
</table>
<h2><span data-preserver-spaces="true">Common Challenges and Solutions</span></h2>
<p><strong><span data-preserver-spaces="true">Addressing Water Infiltration:</span></strong></p>
<ul>
<li><span data-preserver-spaces="true">Ensure proper installation of flashing and sealants to prevent leaks.</span></li>
</ul>
<p><strong><span data-preserver-spaces="true">Ensuring Compliance with Building Codes:</span></strong></p>
<ul>
<li><span data-preserver-spaces="true">Regularly consult with local building authorities during the construction process to ensure compliance.</span></li>
</ul>
<p><strong><span data-preserver-spaces="true">Handling Uneven Surfaces or Misalignments:</span></strong></p>
<ul>
<li><span data-preserver-spaces="true">Use levels and plumb lines to identify and correct any discrepancies during installation.</span></li>
</ul>
<h2><span data-preserver-spaces="true">Maintenance Tips for Gable Porch Roofs</span></h2>
<p><span data-preserver-spaces="true">Maintaining your gable porch roof involves the following:</span></p>
<ul>
<li><strong><span data-preserver-spaces="true">Regular inspections:</span></strong><span data-preserver-spaces="true"> Check for any signs of damage or wear.</span></li>
<li><strong><span data-preserver-spaces="true">Cleaning gutters and removing debris:</span></strong><span data-preserver-spaces="true"> This prevents water damage and ice dams.</span></li>
<li><strong><span data-preserver-spaces="true">Repainting or resealing:</span></strong><span data-preserver-spaces="true"> Keeps the roof looking new and prevents weather damage.</span></li>
</ul>
<h2><span data-preserver-spaces="true">Cost Considerations</span></h2>
<p><strong><span data-preserver-spaces="true">Breakdown of Costs:</span></strong></p>
<ul>
<li><strong><span data-preserver-spaces="true">Materials:</span></strong><span data-preserver-spaces="true"> Cost can vary widely based on the chosen materials.</span></li>
<li><strong><span data-preserver-spaces="true">Labor:</span></strong><span data-preserver-spaces="true"> Decide between DIY or professional installation, considering the project’s complexity.</span></li>
</ul>
<p><strong><span data-preserver-spaces="true">Tips for Saving Money:</span></strong></p>
<ul>
<li><span data-preserver-spaces="true">Compare prices and quality of materials.</span></li>
<li><span data-preserver-spaces="true">Consider which processes can be safely and effectively handled as DIY to save on labor costs.</span></li>
</ul>
<h2><span data-preserver-spaces="true">Conclusion</span></h2>
<p><span data-preserver-spaces="true">Adding a gable porch roof to your house not only enhances its appearance but also adds practical outdoor space. Ensure you follow the proper steps for a safe and effective installation. If you’re unsure about tackling this project independently, don’t hesitate to contact professionals.</span></p>
<p>You may also read <a href="https://comeawayhome.co.uk/if-my-roof-is-brown-what-color-should-i-paint-my-house/">(if my roof is brown what color should i paint my house)</a></p>
When considering enhancements to your home, adding a gable porch roof not only boosts the overall aesthetic appeal but also increases the functionality of your outdoor space.
By integrating the keyword adding gable porch roof to the house, we aim to guide you through the process, ensuring that your new porch roof stands out as a highlight of your home’s exterior.
Understanding Gable Porch Roofs

What is a Gable Porch Roof?
A gable porch roof features two sloping sides at a ridge, creating a triangular shape. This design is aesthetically pleasing and practical in shedding water and snow, making it ideal for many climates.
| Step |
Description |
| 1. Plan and Design |
Create a detailed construction plan, including tools, materials, and measurements |
| 2. Obtain Permits |
Ensure compliance with local building codes and regulations |
| 3. Build Support Columns |
Install vertical support columns using concrete screws and braces for stability |
| 4. Attach Ledger Board |
Secure a horizontal ledger board to the house’s structural framing using lag screws |
| 5. Install Sill Plate |
Position and secure the sill plate flush with the top edges of the support columns |
| 6. Position Rafters |
Mount rafters on the sill plate using joist hangers, ensuring alignment with the desired roof pitch |
| 7. Frame Roof Structure |
Add rafters and mount fascia boards to create the porch roof frame |
| 8. Cover with Sheathing |
Nail plywood sheathing onto rafters for structural support |
| 9. Install Roofing Material |
Apply shingles or other roofing materials, starting at the house and working outward |
| 10. Add Flashing |
Nail drip flashing between the porch roof and house siding to prevent leaks |
| 11. Install Siding |
Finish by installing siding over the flashing for a seamless look |
You may also read (under metal roofing can house wrap be used)
Benefits of Gable Roofs:
- Protection from the elements: Keeps your porch dry and usable regardless of the weather.
- Curb appeal: Adds a classic design element to your home that can enhance its overall value.
- Added value: Improves the resale value of your home by increasing its visual appeal and functional outdoor space.
Why Choose a Gable Porch Roof for Your Home?
Gable roofs are often chosen for their architectural compatibility with a wide range of home styles, from traditional to contemporary. Moreover, they offer enhanced outdoor living space, ideal for relaxation or entertaining guests.
Planning the Addition
Assessing Feasibility
Before adding a gable porch roof, it is essential to consider:
- Structural considerations: Ensure the existing structure can support the additional weight.
- Local building codes and permits: Check with local authorities to comply with regulations and obtain necessary permits.
Designing the Roof
When planning your porch roof:
- Choosing the right pitch and dimensions: The pitch should complement the existing roof for a cohesive look.
- Materials selection: Opt for materials that will harmonize with your house, such as wood for a rustic look or metal for a modern appeal.
Tools and Materials Needed
Essential tools include:
- Circular saw
- Level
- Screws
- Hammer
- Measuring tape
Step-by-Step Guide to Attaching a Gable Porch Roof

Preparing the Site
Clear the area where the porch roof will be added. Inspect the existing structure to ensure it is sound and mark attachment points accurately.
Installing the Ledger Board
The ledger board is crucial for the stability of the porch roof. Position and secure it to the house using appropriate fasteners, ensuring it is level and firmly attached.
Attaching Rafters to the Ledger Board
Measure and cut the rafters according to the determined roof pitch. Attach them to the ledger board at even intervals to ensure a stable and symmetrical structure.
Installing Trusses or Brackets
Trusses or brackets are used to distribute the weight of the roof evenly. Install these components carefully to maintain the integrity of the roof structure.
Completing the Roof Framework
Add gable end pieces to provide additional support. Ensure all parts are aligned correctly before proceeding with the roofing material.
Roofing and Finishing Touches
Choose suitable roofing materials, such as shingles or metal panels, and install them along with gutters, trim, and flashing to protect against water infiltration.
| Aspect |
Details |
| Preparation |
– Obtain building plans and permits. |
|
– Ensure compliance with local building codes. |
|
– Gather tools and materials, including ledger boards, rafters, trusses, screws, nails, and flashing |
| Measuring & Marking |
– Measure and mark attachment points on the house for alignment. |
|
– Use a level to ensure markings are straight and accurate. |
|
– Consider placement around windows, doors, or other features |
| Installing Ledger Board |
– Attach the ledger board securely to the house at marked points. |
|
– Drill pilot holes and use screws to anchor it into the framing or masonry. |
|
– Ensure the ledger board is level and flush with the wall |
| Attaching Rafters |
– Cut rafters to the appropriate length based on roof pitch and porch dimensions. |
|
– Secure rafters to the ledger board, ensuring even spacing and alignment. |
|
– Use nails or screws for attachment |
| Adding Trusses/Brackets |
– Install trusses or brackets to provide additional support for the roof structure. |
|
– Consider ordering pre-made truss packages for small projects |
| Roofing & Finishing |
– Install ridge boards, shingles, flashing, gutters, and trim. |
|
– Ensure all connections are watertight to prevent leaks. |
|
– Select appropriate roofing materials for durability and aesthetics |
| Aesthetic Adjustments |
– Align fascia boards with existing rooflines for a cohesive look. |
|
– Maintain the existing porch footprint if desired (e.g., using an existing concrete slab) |
Common Challenges and Solutions
Addressing Water Infiltration:
- Ensure proper installation of flashing and sealants to prevent leaks.
Ensuring Compliance with Building Codes:
- Regularly consult with local building authorities during the construction process to ensure compliance.
Handling Uneven Surfaces or Misalignments:
- Use levels and plumb lines to identify and correct any discrepancies during installation.
Maintenance Tips for Gable Porch Roofs
Maintaining your gable porch roof involves the following:
- Regular inspections: Check for any signs of damage or wear.
- Cleaning gutters and removing debris: This prevents water damage and ice dams.
- Repainting or resealing: Keeps the roof looking new and prevents weather damage.
Cost Considerations
Breakdown of Costs:
- Materials: Cost can vary widely based on the chosen materials.
- Labor: Decide between DIY or professional installation, considering the project’s complexity.
Tips for Saving Money:
- Compare prices and quality of materials.
- Consider which processes can be safely and effectively handled as DIY to save on labor costs.
Conclusion
Adding a gable porch roof to your house not only enhances its appearance but also adds practical outdoor space. Ensure you follow the proper steps for a safe and effective installation. If you’re unsure about tackling this project independently, don’t hesitate to contact professionals.
You may also read (if my roof is brown what color should i paint my house)